
Almost always, it’s best to stick with notifications for app alerts. However, displaying popups or custom views while your app is in the background can be incredibly useful for some niche use cases.
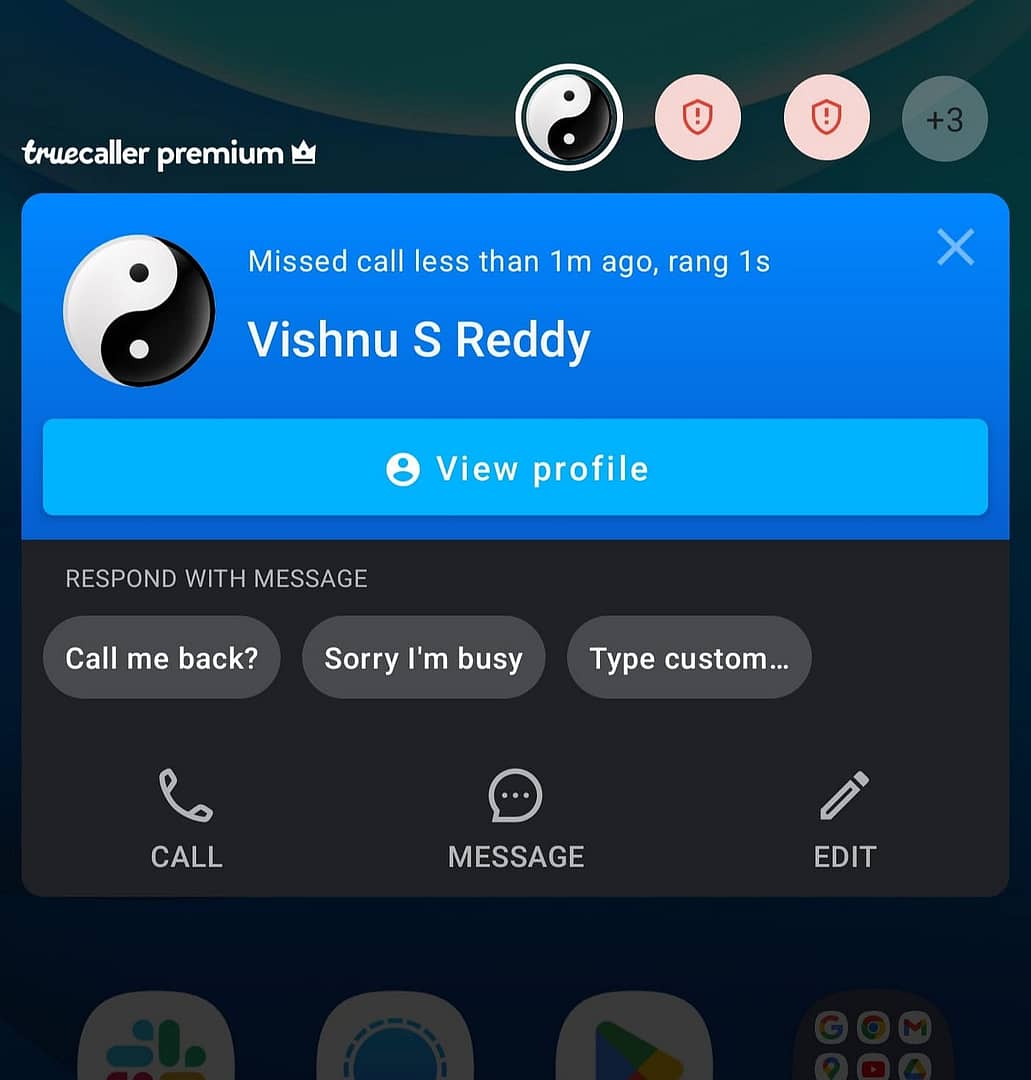
To my fellow Indian audience, think of the Truecaller Caller ID popup that appears whenever you get a call. That’s a perfect example of what we’re trying to build. Let’s get started.
The Permissions
To create a Window/View that appears on top of other apps or anywhere outside your app, you would need the permission — SYSTEM_ALERT_WINDOW.
If your app targets anything above API 23, the user would have to explicitly grant this permission through the settings. There is no in-app dialog for this.
In your AndroidManifest.xml add the following –
<uses-permission android:name="android.permission.SYSTEM_ALERT_WINDOW"/>Now, from your activity or fragment, check if the permission exists, else request the user for the same through –
private lateinit var overlayPermissionLauncher: ActivityResultLauncher<Intent>

// Check this on a button click or some other trigger
if (!Settings.canDrawOverlays(this)) {
    val intent = Intent(Settings.ACTION_MANAGE_OVERLAY_PERMISSION, Uri.parse("package:" + this.packageName))
    overlayPermissionLauncher.launch(intent)
}
Note: This would not open an in-app popup to grant the permission, instead opens the device settings for Display Over Other Apps/Draw Over Other Apps which contains a list of apps that have added SYSTEM_ALERT_WINDOW in their manifest. The user is expected to select your app and click on Allow/Grant.
Once granted or denied/ignored, and the user reopens your app, this callback will be invoked –
overlayPermissionLauncher = registerForActivityResult(ActivityResultContracts.StartActivityForResult()) { result ->
    if (Settings.canDrawOverlays(this)) {
        // Permission granted, you can now display the popup
    } else {
        // Permission not granted, handle the situation accordingly
    }
}
The complete code is shared below, at the end of the article in case you’re stuck.
Creating the Popup
Once the permission is granted, you can proceed with creating and displaying your custom view. Let’s go through the process:
Create a Layout for Your Popup. Define the layout XML file for the custom view you want to display.
<?xml version="1.0" encoding="utf-8"?>
<LinearLayout xmlns:android="http://schemas.android.com/apk/res/android"
    android:layout_width="wrap_content"
    android:layout_height="wrap_content"
    android:background="#FFFFFF"
    android:orientation="vertical"
    android:padding="16dp">

    <TextView
        android:id="@+id/popup_text"
        android:layout_width="wrap_content"
        android:layout_height="wrap_content"
        android:text="This is a popup"
        android:textColor="#000000"
        android:textSize="16sp" />

    <Button
        android:id="@+id/popup_button"
        android:layout_width="wrap_content"
        android:layout_height="wrap_content"
        android:layout_gravity="center"
        android:layout_marginTop="12dp"
        android:backgroundTint="#DC5F00"
        android:text="Close"
        android:textColor="#FFFFFF" />
</LinearLayout>
Display the Popup
Now, let’s display the layout we creating using WindowManager. For this example, I’m using ViewBinding, but you can choose to use findViewById as well.
private fun showPopup() {
    val windowManager = getSystemService(WINDOW_SERVICE) as WindowManager
    val inflater = LayoutInflater.from(this)
    val binding = PopupLayoutBinding.inflate(inflater)

    val layoutFlag = if (Build.VERSION.SDK_INT >= Build.VERSION_CODES.O)
    {
        WindowManager.LayoutParams.TYPE_APPLICATION_OVERLAY
    } else {
        WindowManager.LayoutParams.TYPE_PHONE
    }

    val layoutParams = WindowManager.LayoutParams(
        WindowManager.LayoutParams.WRAP_CONTENT,
        WindowManager.LayoutParams.WRAP_CONTENT,
        layoutFlag,
        WindowManager.LayoutParams.FLAG_NOT_FOCUSABLE,
        PixelFormat.TRANSLUCENT
    )

    layoutParams.gravity = Gravity.CENTER
    windowManager.addView(binding.root, layoutParams)

    binding.popupButton.setOnClickListener {
        windowManager.removeView(binding.root)
    }
}
Now, the setup’s done. All that’s left for us is to check for the required permissions and call showPopup().
For this example, let’s call showPopup() from an FCM service, which has callbacks for when an FCM message is received.
We make use of Handler(Looper.getMainLooper()).post{} since we can’t access foreground UI elements from the background (i.e. a service).
class MyFirebaseMessagingService : FirebaseMessagingService() {

    override fun onMessageReceived(remoteMessage: RemoteMessage) {
        super.onMessageReceived(remoteMessage)

        // Check if message contains a data payload.
        if (remoteMessage.data.isNotEmpty()) {
            // Handle the data message here
            if (Settings.canDrawOverlays(this)) {
                // Ensure showPopup is called on the main thread
                Handler(Looper.getMainLooper()).post {
                    showPopup()
                }
            } else {
                // Optionally notify user to enable overlay permission
            }
        }
    }
}
A Simpler Example — Complete Code
For those of you who aren’t comfortable with services yet, or to keep it even simpler for this example, let’s call the popup on click of a button in your activity.
class MainActivity : AppCompatActivity() {

    private lateinit var binding: ActivityMainBinding
    private lateinit var overlayPermissionLauncher: ActivityResultLauncher<Intent>

    override fun onCreate(savedInstanceState: Bundle?) {
        super.onCreate(savedInstanceState)
        enableEdgeToEdge()
        binding = ActivityMainBinding.inflate(layoutInflater)
        setContentView(binding.root)

        overlayPermissionLauncher = registerForActivityResult(
            ActivityResultContracts.StartActivityForResult()
        ) { result ->
            if (Settings.canDrawOverlays(this)) {
                // Permission granted, you can now display the popup
                showPopup()
            } else {
                // Permission not granted, handle the situation accordingly
            }
        }

        binding.btnShowPopup.setOnClickListener {
            if (!Settings.canDrawOverlays(this)) {
                val intent = Intent(Settings.ACTION_MANAGE_OVERLAY_PERMISSION, Uri.parse("package:" + this.packageName))
                overlayPermissionLauncher.launch(intent)
            } else {
                showPopup()
            }
        }

    }

    private fun showPopup() {
        val windowManager = getSystemService(WINDOW_SERVICE) as WindowManager
        val inflater = LayoutInflater.from(this)
        val binding = PopupBinding.inflate(inflater)

        val layoutFlag = if (Build.VERSION.SDK_INT >= Build.VERSION_CODES.O)
        {
            WindowManager.LayoutParams.TYPE_APPLICATION_OVERLAY
        } else {
            WindowManager.LayoutParams.TYPE_PHONE
        }

        val layoutParams = WindowManager.LayoutParams(
            WindowManager.LayoutParams.WRAP_CONTENT,
            WindowManager.LayoutParams.WRAP_CONTENT,
            layoutFlag,
            WindowManager.LayoutParams.FLAG_NOT_FOCUSABLE,
            PixelFormat.TRANSLUCENT
        )

        layoutParams.gravity = Gravity.CENTER
        windowManager.addView(binding.root, layoutParams)

        binding.popupButton.setOnClickListener {
            windowManager.removeView(binding.root)
        }
    }

}
A sample video demonstrating its use is over here –
Conclusion
Displaying popups and custom views outside your app can provide a better user experience for specific use cases. Integrating this functionality with Firebase Cloud Messaging allows your app to show relevant information to users even when the app is in the background. Just ensure that you handle the permissions properly and respect the user’s control over their device.
Happy coding, and let me know your thoughts or if you run into any issues in the comments!
How do we shop popups on the lockscreen? This method works for outside app, but shows only when phone is unlocked. If locked, I need to unlock and only then I can see it.
For this, you need to implement full screen intents. Let me know if needed, I can help with an article about it.
Thank you for providing me with these article examples. May I ask you a question?
Howdy just wanted to give you a brief heads up and let you know a few of the images aren’t loading properly. I’m not sure why but I think its a linking issue. I’ve tried it in two different internet browsers and both show the same results.
You actually make it seem so easy with your presentation but I find this topic to be actually something that I think I would never understand. It seems too complex and very broad for me. I am looking forward for your next post, I will try to get the hang of it!
The articles you write help me a lot and I like the topic